The old fashioned cloth diapers crossed my mind but they aren't fitted, which can lead to leaks and worse...stains. Yuck. They are definitely affordable (usually around $12 or so for a package of 10 or 12). Plus you would need to buy the plastic pants to go over them. I'm not sure how much they run but they aren't much.
The only other thing I could think of was to find a pattern and make my own. Problem solved! I found a great pattern at Mama Bird's Website. She has a basic pattern to use and instructions on how to make a fitted diaper, an all in one diaper and a pocket diaper. I've only made the fitted diaper (and made one addition of my own) but if I can find the right material (called PUL) I will try the all in one.
I decided I would do a step-by-step post on how I made the diaper but if you want to try to make one, I would go to her website. Her pictures are better. By the way, these pictures are in no way an attempt at photography. I haven't even cracked open those books yet. These pictures, to be quite blunt, suck. My craft room is in my basement and it has awful flourescent lighting. But, enough about that.
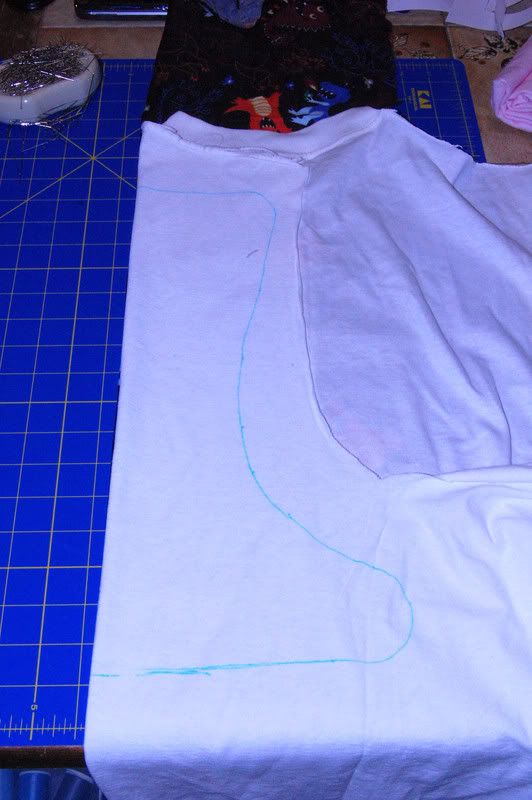
The diaper has two layers plus a soaker pad in the middle. I made the inner layer from a Good Will t-shirt ($.99 and I'll get about 4 or 5 diapers from it). The outer layer is flannel (I always check the remnant section for good deals. The remnant I used here cost me less than $2 and I'll get 2 or 3 diapers from it). I folded both fabrics in half and traced the pattern on to the t-shirt.
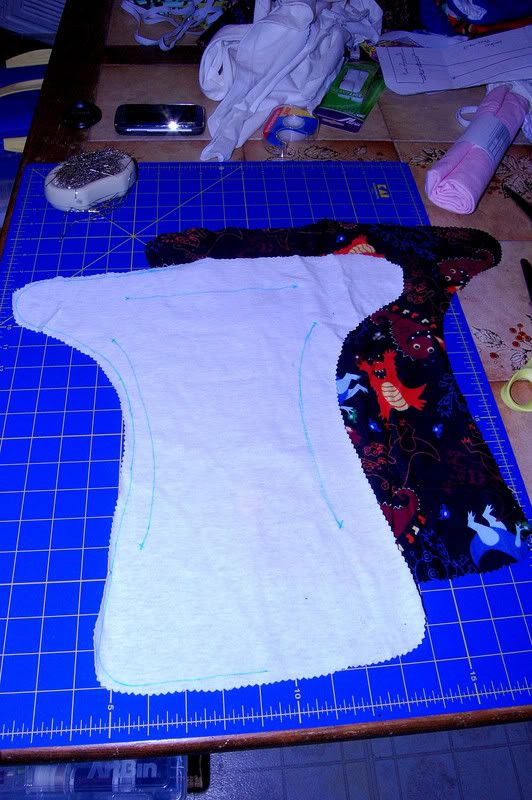
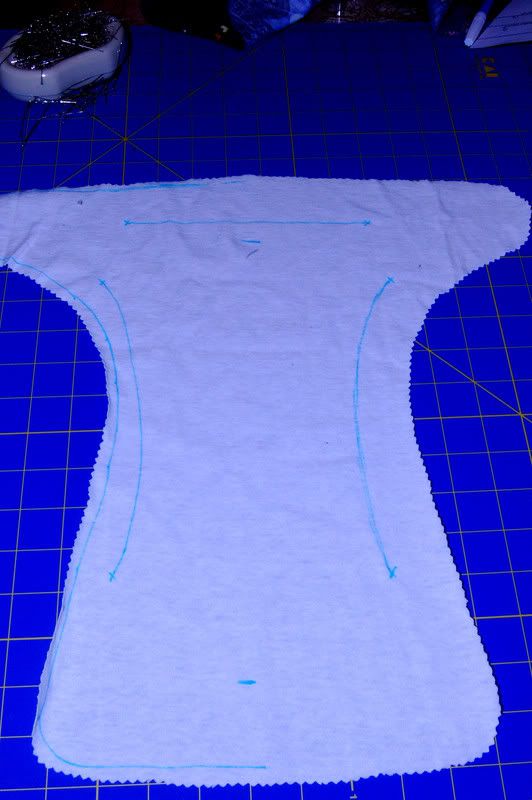
Now, both layers are cut out (I use pinking shears) and I've marked where the elastic goes.
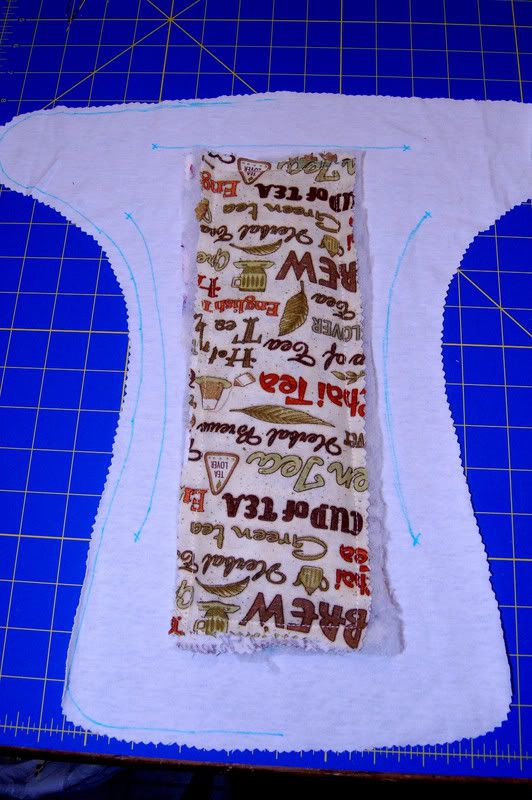
I also marked where the soaker pad is placed. It should hit the two small marks and then it is centered in the middle.
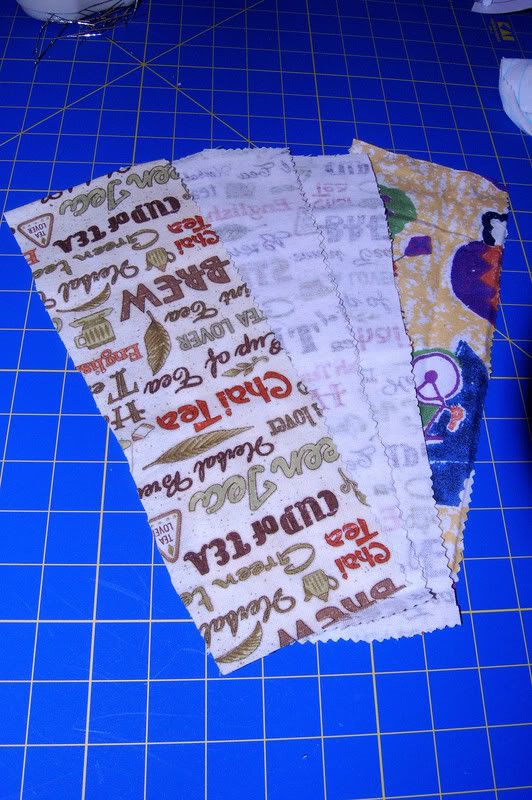
Next, I cut out the material for the soaker pad. I use 6 strips of flannel. I always save scraps from sewing projects and now it can be put to good use. Also, I check the remnant section for ugly flannel to use. It's cheap and it won't be seen.
Ok, so I made two additions to Mama Bird's pattern. I added three layers of batting in the soaker. It should help it dry faster, especially if it's put in the dryer.
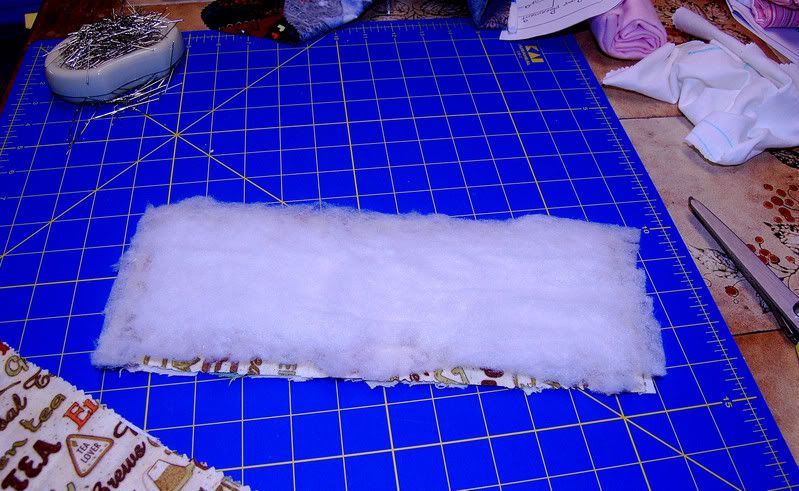
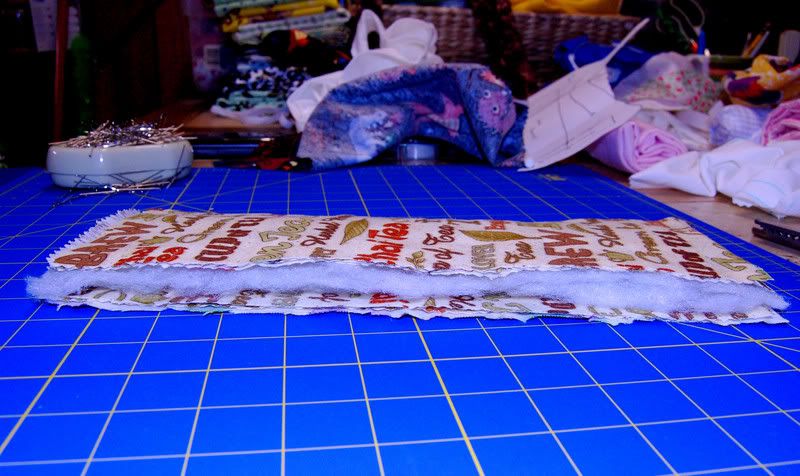 This is what the soaker should look like...three layers of flanne on the top and bottom with three layers of batting in the middle.
 Then I sewed the soaker together. I just did this to make it easier when it came time to sew it to the inner part of the diaper.
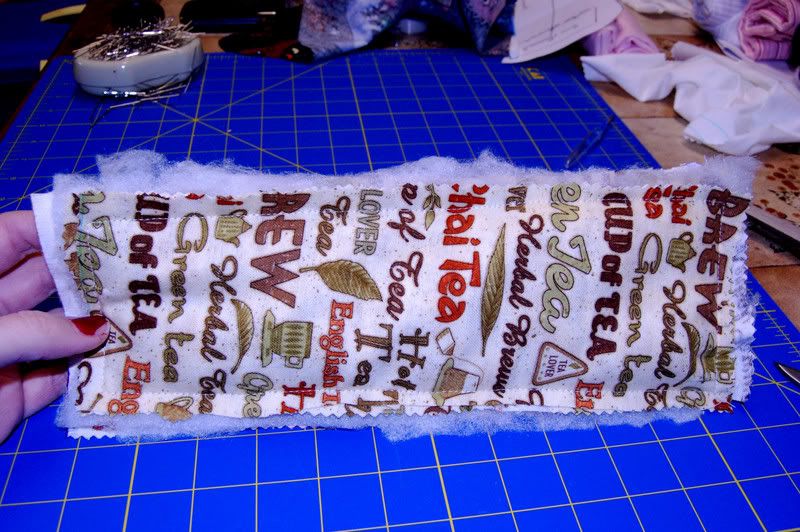
It obviously isn't even but it doesn't matter. It won't be seen and it's only purpose is to hold piss.
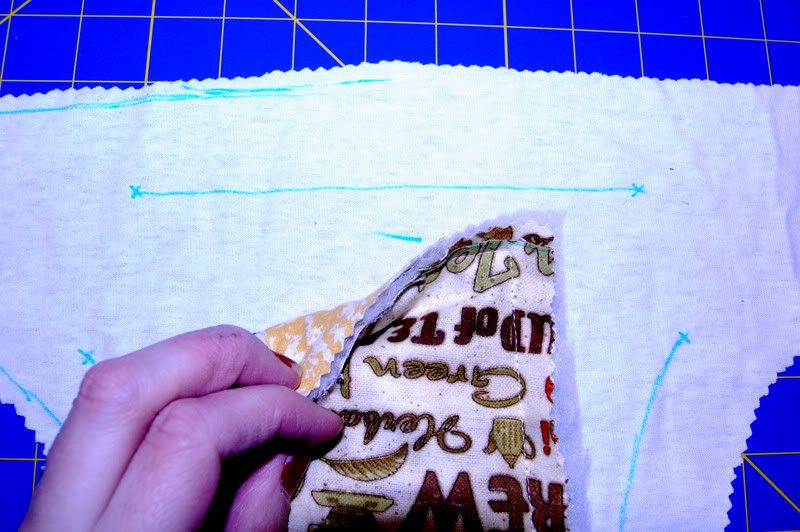
The soaker is placed in between the two markings I made earlier and centered in the middle.
Now it's ready to be sewn on.
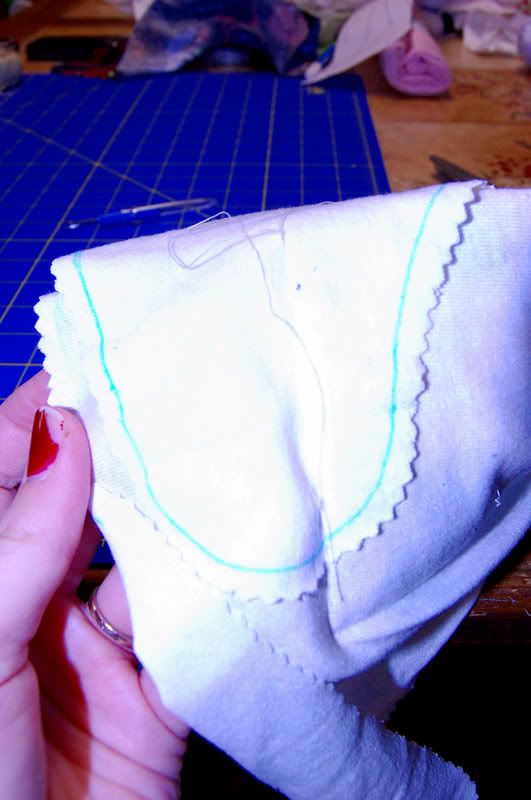
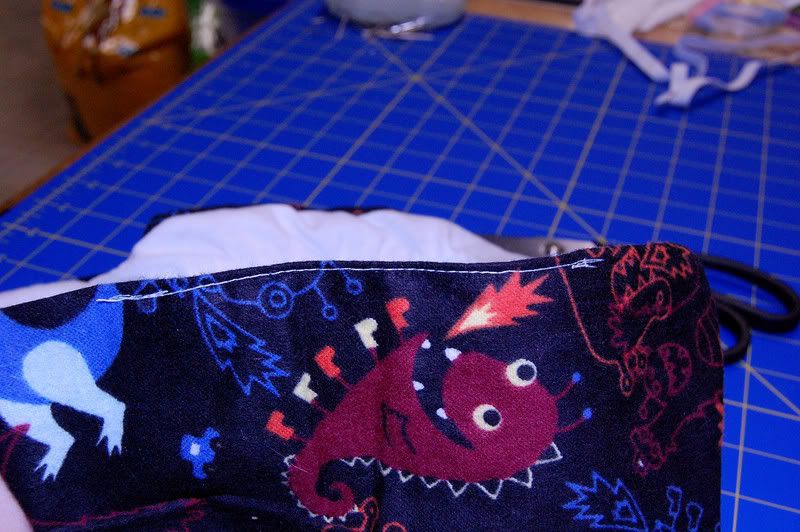
Be careful while you are sewing and don't sew the diaper to itself like I did. You can't see it because it is a crappy picture.
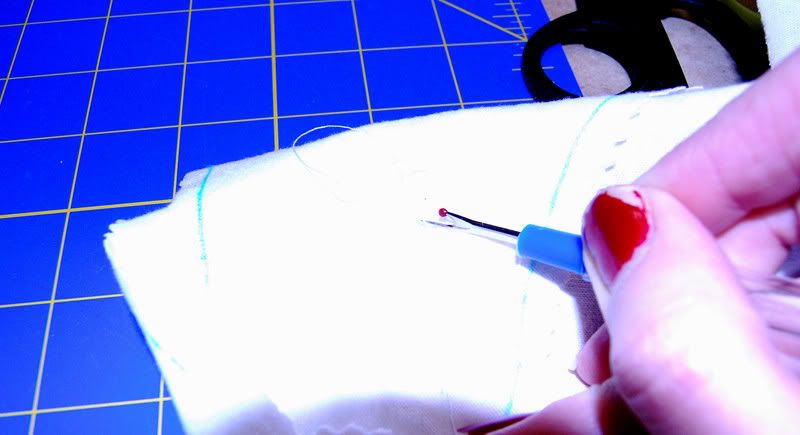
If you do then you'll just use a seam ripper to remove the offending stitches and begin again.
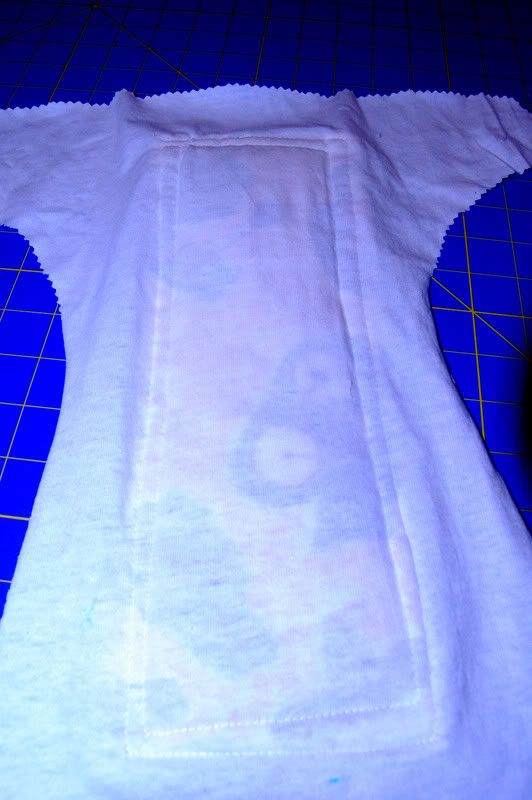
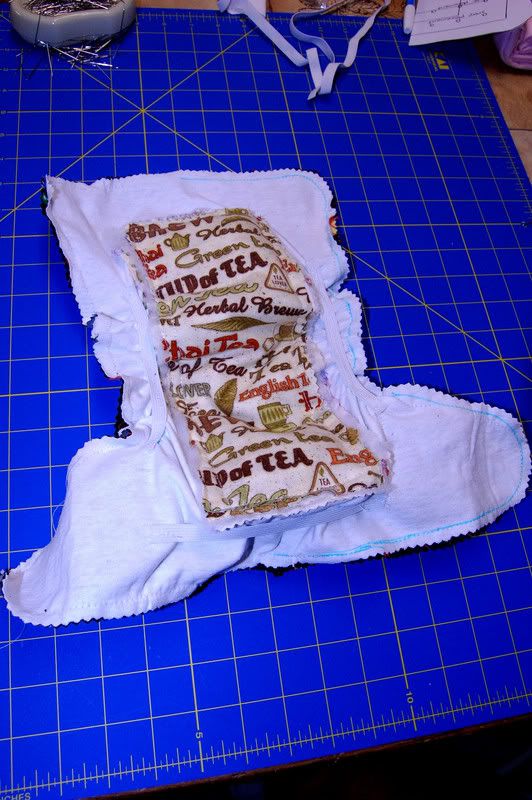
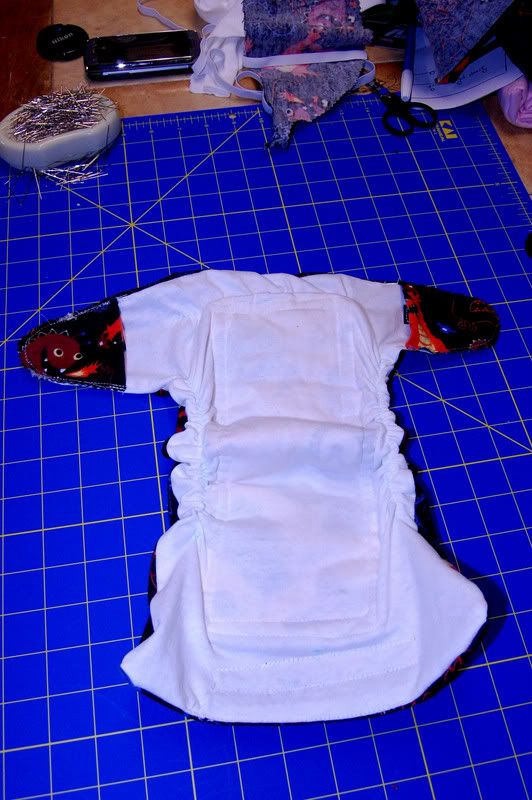
This is what it will look like (or better if you are a better seamstress than I am, and you probably are) once the soaker pad is sewn on. I went around it twice, hence the framed in look.
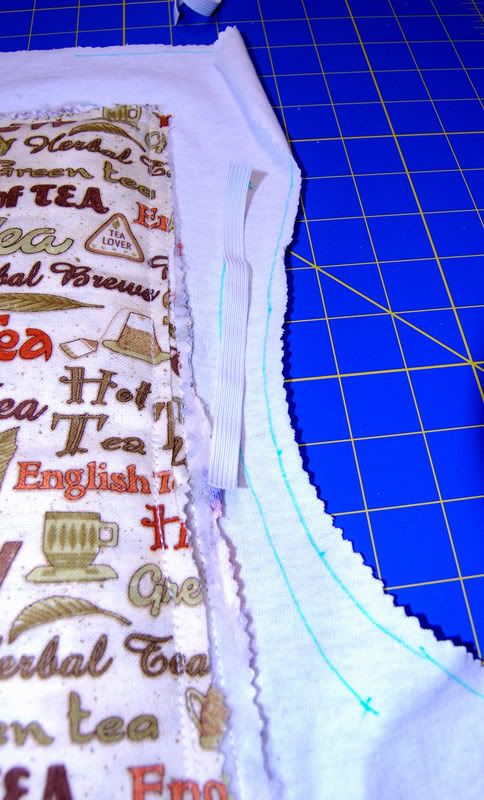
Next, I cut the elastic for the leg openings. When cutting, you need to stretch it from marking to marking so that once it's sewn on it will gather the fabric. Make sure to cut two...one for each leg. Duh.
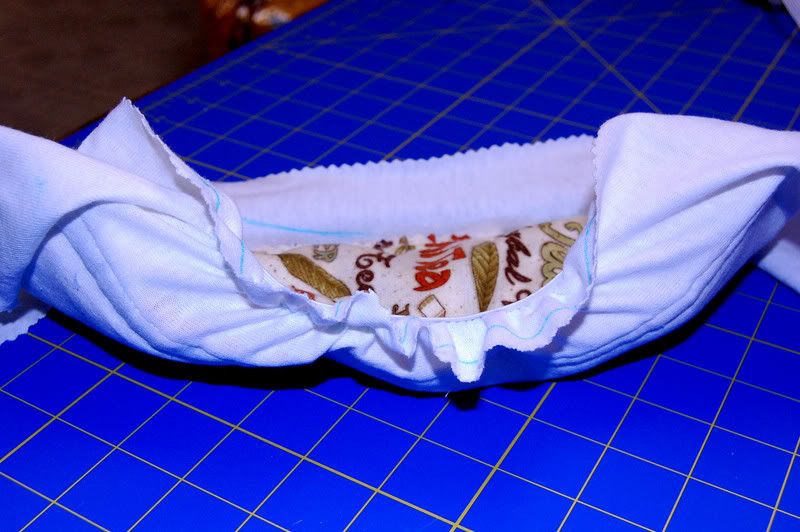
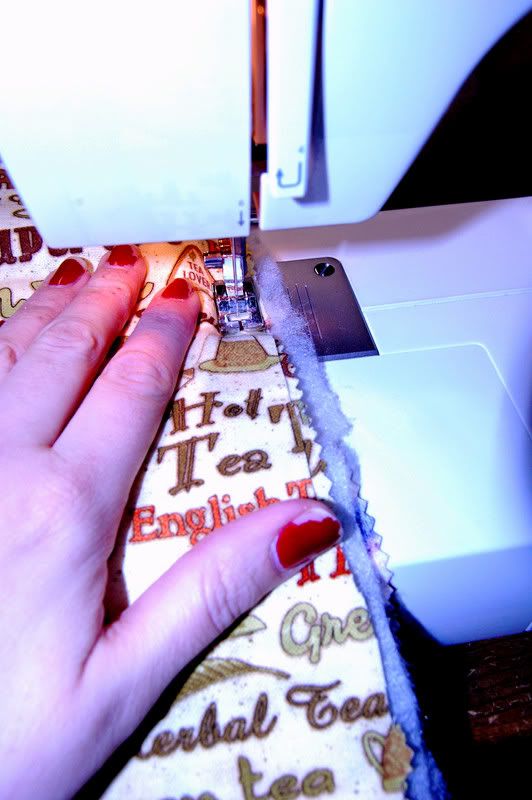
Sewing on the elastic is probably the hardest part of this little project but if I can do it, anyone can. You kind of just stretch and sew at the same time. This is what one finished side looks like.
Then, I stitched on the ends of the back elastic. I'll sew this down once the diaper is sewn together.
Next, I pinned the two layers together, right sides together.
Now the two layers are sewn together.
I left an opening so that I can turn it inside out. It will be sewn up later.
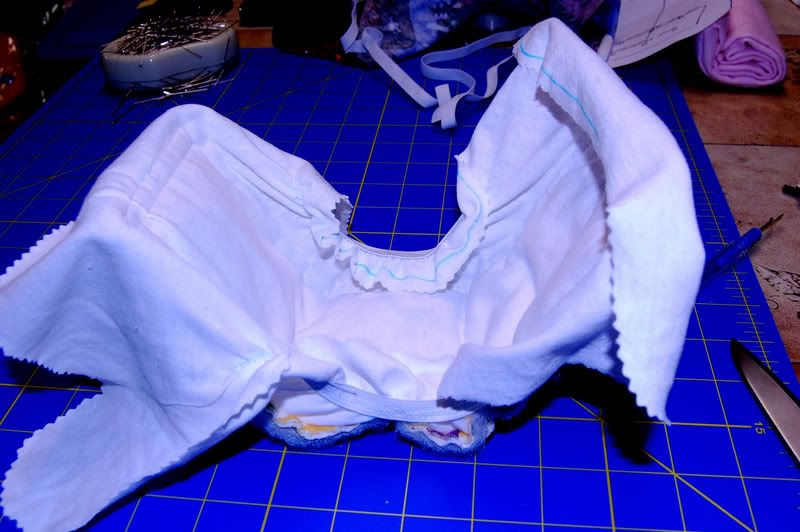
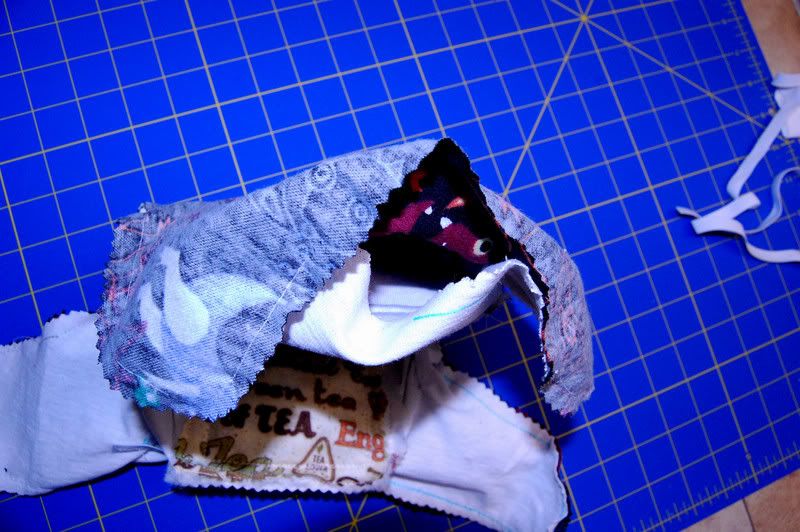
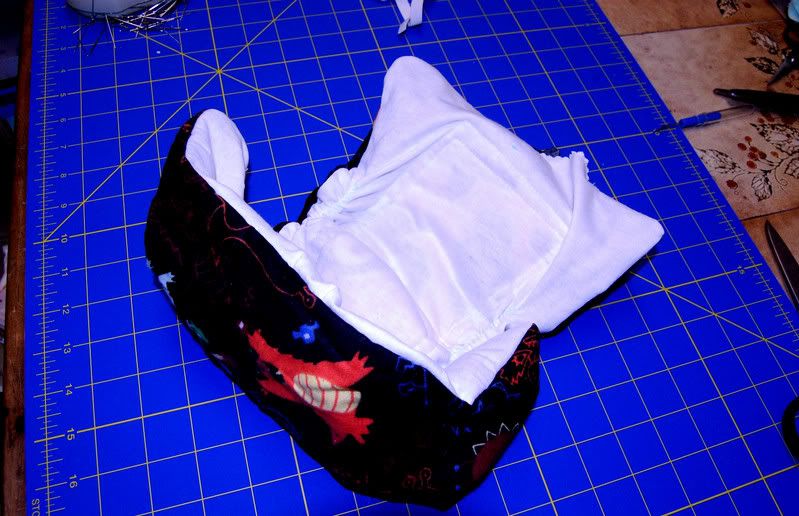
This is the diaper right side out.
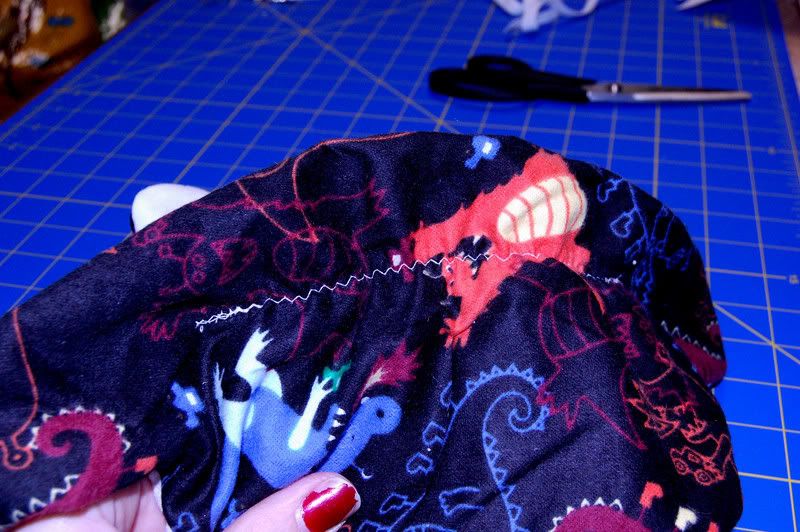
I then sewed the back elastic through both layers. Again, you kind of have to stretch and sew at the same time.
Then I sewed up the opening I had left to turn the diaper inside out.
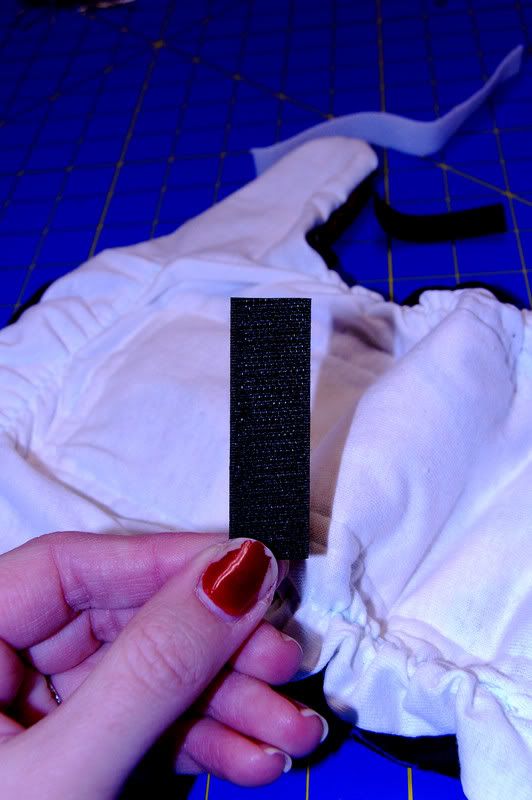
Next, I cut the hook velcro (the scratchy side) for the tabs of the diaper.
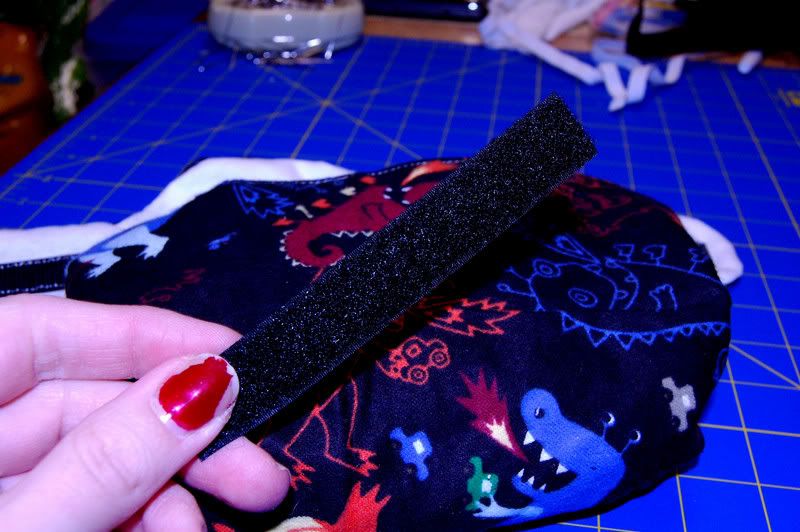
Then I cut the loop velcro (the soft side) for the front of the diaper.
Now that the velcro is on the diaper is almost finished. I decided to add one little feature though.
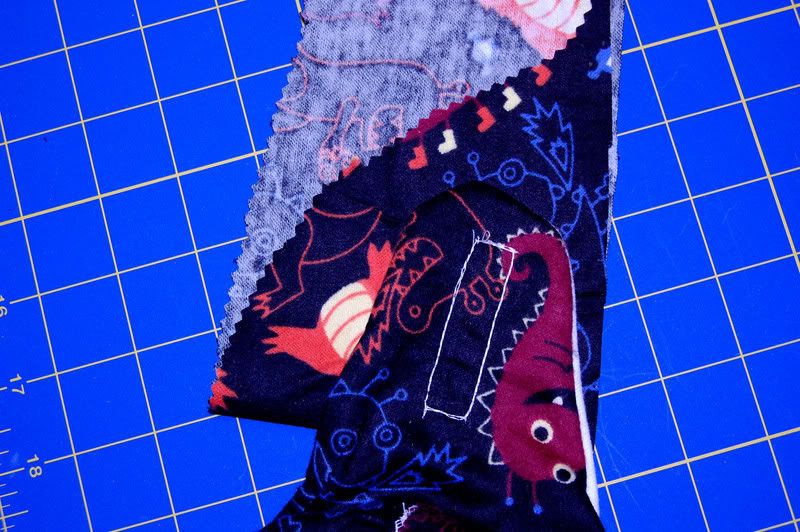
I decided to add fold over pockets/tabs/whatever to the tabs of the diaper to protect the velcro while washing. This way it doesn't get fuzzies stuck to it and it doesn't create a chain of diapers in the washer or dryer. First, I lay the tab on a piece of folded over flannel and traced it.
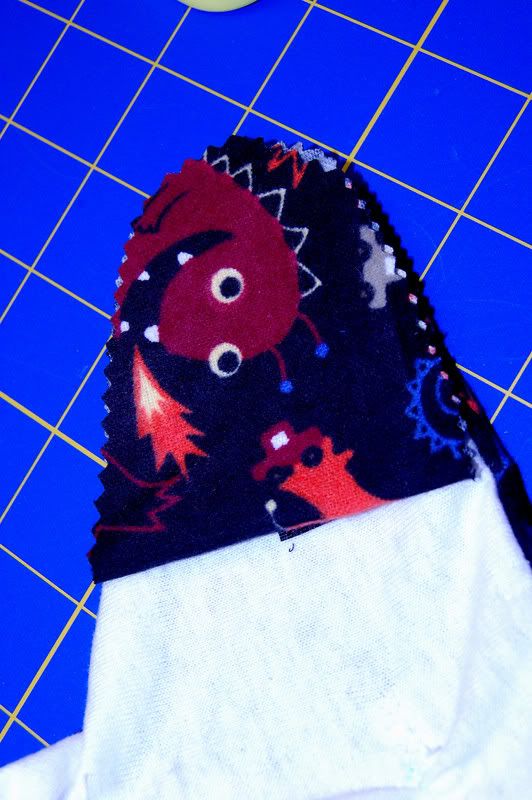
Once it's cut out I placed it on the inner part of the tab.
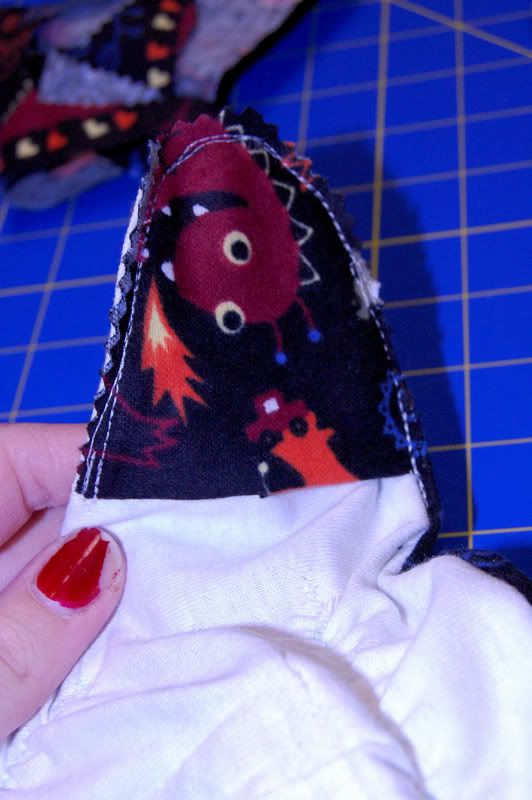
Sew around the round part of the tab but leave the straight edge open.
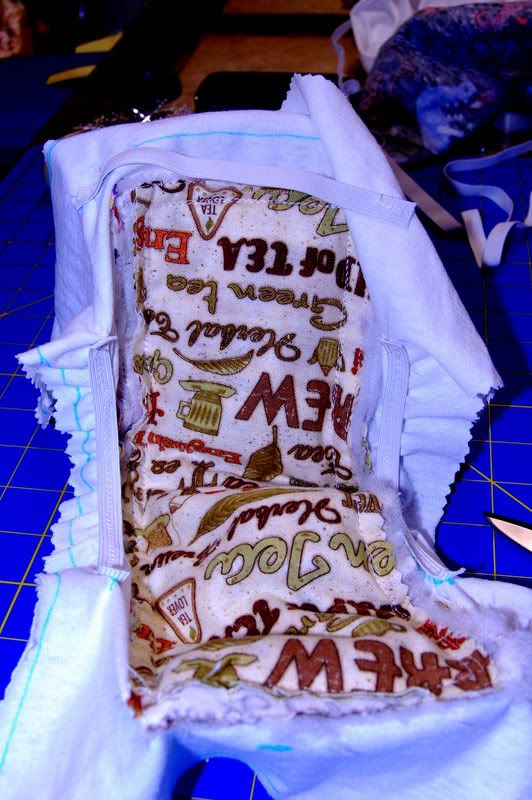
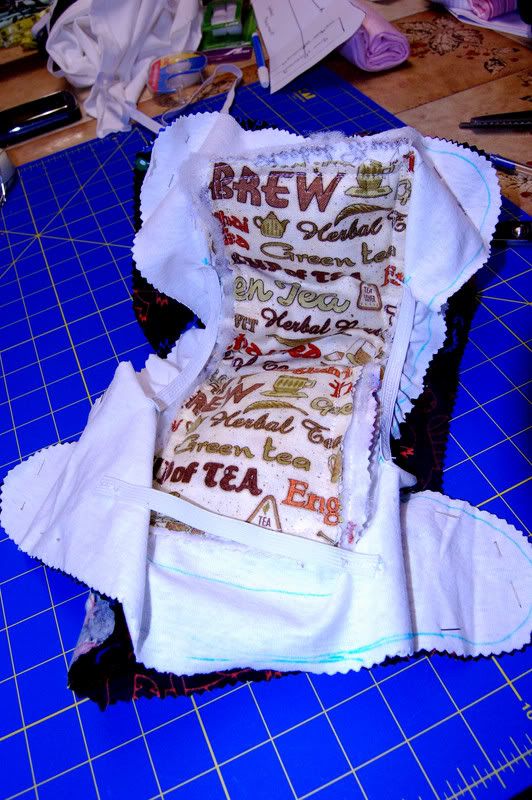
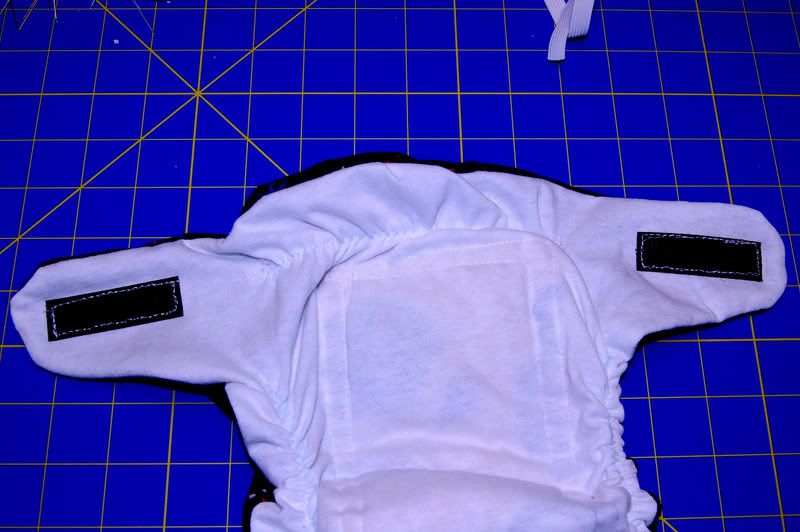
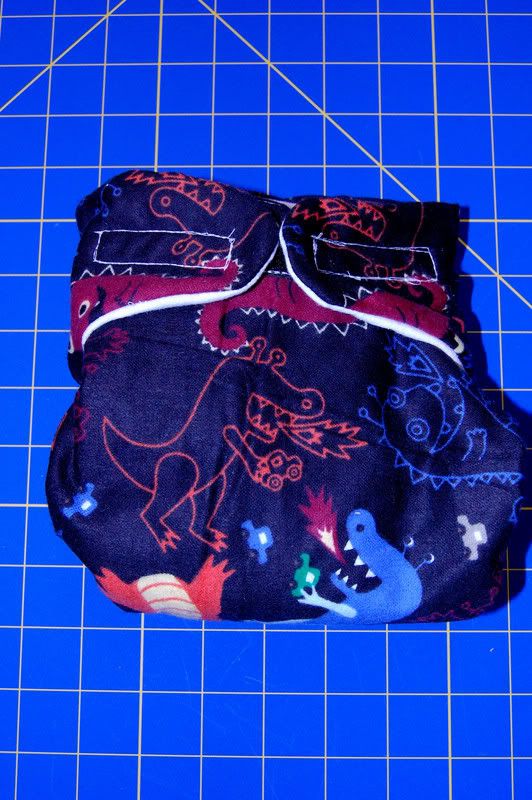
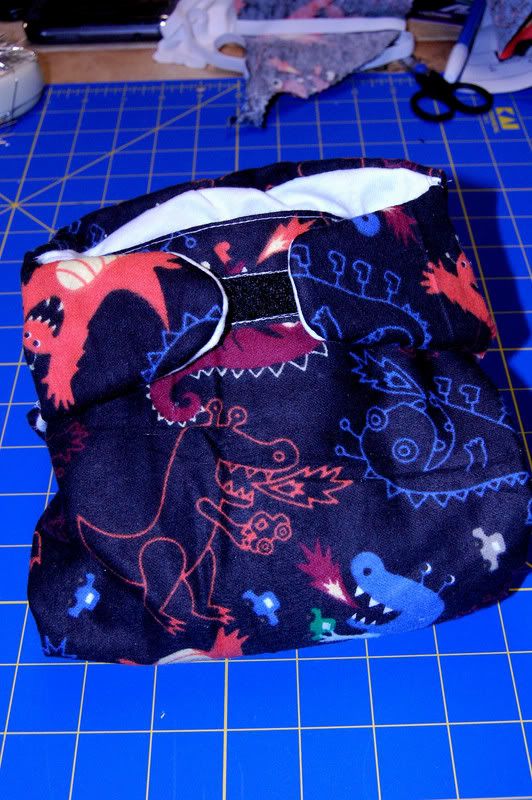
So now the tab cover thingy is sewn on and while in use it will look like this.
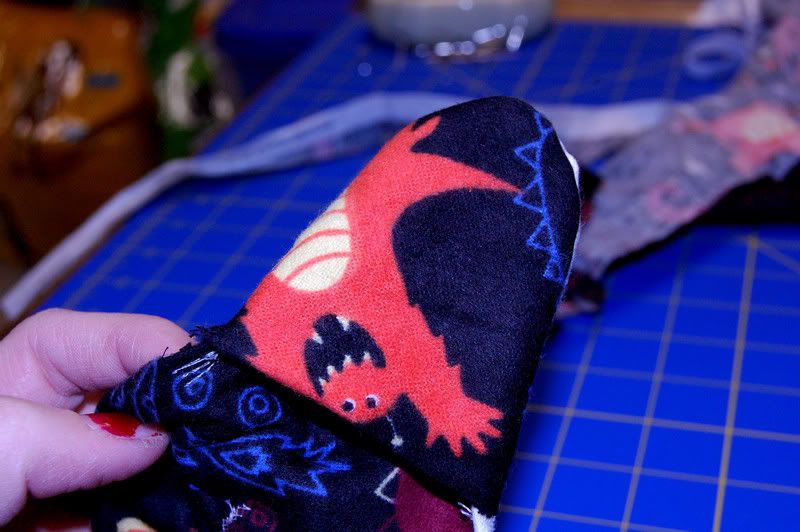
When it's time to wash the diaper, just flip the tabs over the velcro and wash.
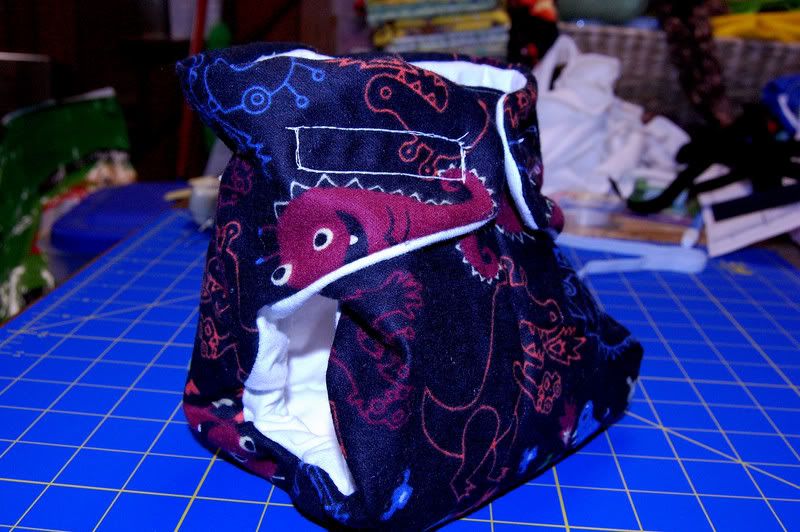 So that's it. It's really not hard. I've made three so far and it usually takes about 45 minutes or so to make a one. Seeing as how I'll probably need about 20-30 of each size (give or take) it's probably good that I start now.
Total cost for homemade fitted diaper: Around $1...probably less.
Now that is something my child can crap in.
P.S. Please ignore the chipped nail polish. That is the main reason I never get manicures. I'm terrible about taking off the polish once it starts chipping. I got my nails done for Valentine's Day. I'm guessing it'll still be on my nails come St. Patrick's Day.



6 comments:
I've been thinking about learning how to sew, and after seeing your awesome cloth diapers, I *so* need to learn! I love the outside pattern you picked for your show-and-tell diaper! It's awesome!!
Kate - if only I was near as talented as you are! That is awesome!
I would love to be able to use cloth, but I don't have a laundry room (only a closet) and can't imagine trying to deal with all of that under those circumstances. WOW, WOW, WOW!
Um, Wow! I didn't even notice the nail polish because I was in awe of what you were doing! That is SO COOL!
First, I don't even think I'm going to attempt cloth diapering and I can barely sew a button back on!
Second, I haven't used a sewing machine since 7th grade... You rock!
I agree with everyone else - totally cool, Kate! I definitely want to use cloth diapers if I ever have a baby and I am completely inspired to try to make my own now. Thanks for sharing :)
That is super cool it can be done for so cheap! Love the diaper, and the fabric is adorable. It's even cuter that it cost less then a buck!
Love,
Annie
love the diap! will you be making them for all of us?!
Post a Comment